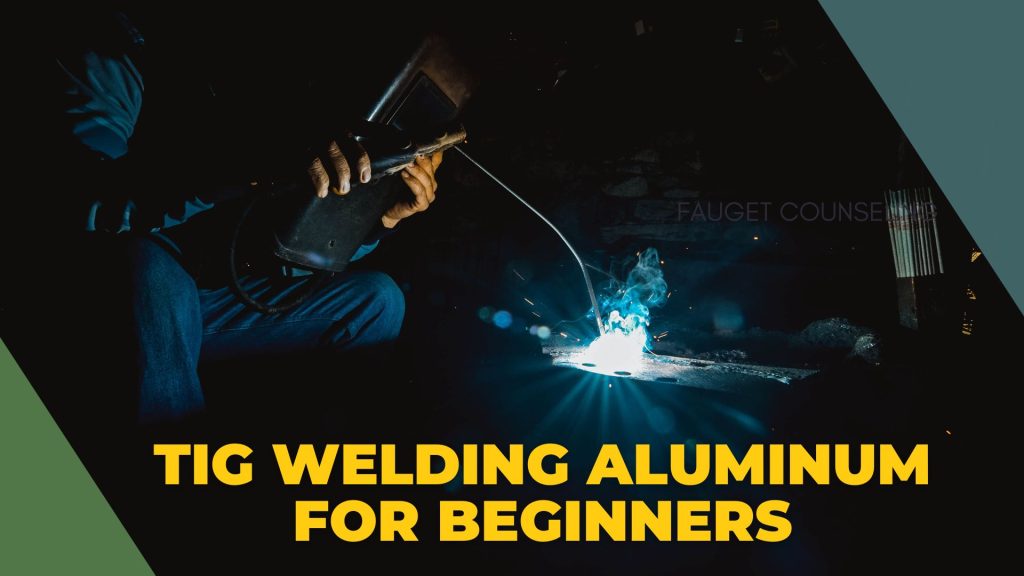
Beginners who want to TIG weld can learn four basic steps of aluminum.
In applications such as truck and trailer manufacturing, cryogenic piping, and boat components, aluminum can extend part life, reduce weight, and deliver greater integrity in cold temperatures.
The oxide layer, as well as regulating heat input, presents some challenges when welding aluminum. In addition to the high weld integrity and aesthetic appearance, gas tungsten arc welding is typically considered the best welding process for aluminum.
It takes skill and practice to weld aluminum with GTAW in high quality and achieves the stacked-dimes effect. A few key best practices can also be helpful.

Best TIG Welding Aluminum Tips & Tricks
Aluminum can be welded with TIG without being intimidating. The best way to get the desired results with welding is to practice a little – and learn some basic best practices for beginning welders.
We will show you four steps below to practice and improve your TIG welding skills using aluminum.
Watch Hand And Torch Placement
Because they need to practice basics before striking an arc on their base material, beginning TIG welders often create a lot of scraps. Due to aluminum’s heat-sinking characteristics, puddle control is crucial to a successful weld.
Puddle control relies heavily on hand and torch placement, so mastering these two elements is crucial. It is common to waste good aluminum by skipping this step.
- Place your hand flat against the table and brace the torch using your wrist and pinky fingers.
- A slight backward tilt of 5-15 degrees should be applied to the torch as you move forward steadily.
- Typically, the distance between a workpiece and tungsten is equal to its diameter, plus about 1/4 inch. A wide arc can cause the workpiece to overheat if the tungsten is pulled too far away from the piece, thus resulting in puddles.
Deploy Filler In Coordination With Movement
Your hand and torch movements should then be smooth and free of arcs. If you were welding in a normal situation, you would practice with gloves on.
Slid your hand across the welding table with even, steady motions while keeping a firm grip on the torch. Using only your fingers, you can only weld 1- or 2-inch pieces, which could be more useful for most applications. Practicing this will allow you to calibrate hand movements and tungsten distances without scraping the workpiece.
You push forward as you deposit filler metal ahead of your TIG torch. A 90-degree angle should be maintained between the torch and the filler rod. The torch should always be pushed rather than dragged, and filler metal should always be introduced along the leading edge of the puddle. Fillers are dabbed using one hand while the other slides smoothly and steadily. Make sure you don’t strike an arc while practicing.
It is difficult for beginners to get their hands to move independently at first, so they usually move both hands simultaneously. It usually results in the filler metal being touched to the tungsten and the tungsten being contaminated.
You will become able to perform each task independently as you practice. A strike of an arc is yours once you have mastered these movements.
Practice Puddle Control
The base material becomes very hot at the edges of the workpiece since there is less aluminum present to absorb heat, and the puddle immediately disappears. Maintaining puddle control requires easy pedal pressure. If the puddle isn’t heated enough, you will etch the aluminum. A lack of heat leads to the disappearance of the puddle, an erratic arc, and an arc that isn’t circular.
Puddles are affected by both speed and temperature in the following sequence of photos:
1: Is there a proper puddle width, keeping the tungsten and the workpiece at a decent distance while maintaining a proper speed?
2: You can lose control of the puddle when you move the torch along the piece too quickly. Keep the heat input constant while slowing down.
3: Excess heat input causes problems with the weld when the torch speed is reduced, and the puddle is heated too much.
4: This figure illustrates how a puddle can lose control even at a proper speed when too much heat is added. Ensure the motor’s speed and the amount of heat input are balanced.
5: The puddle disappears when the torch speed is proper, and the workpiece is not heated sufficiently.
Practice repeatedly maintaining speed, distance, and width by laying down a puddle like this. Pick up another piece before continuing since the piece gets so hot so quickly. In a hot piece of equipment, puddles become more unpredictable, making training more challenging.
Introduce Filler Metal To The Puddle
Now that you know how to introduce filler metal to the puddle, remember the details discussed in step 2 above.
Add consistency to the puddle when adding filler metal. Use a dab and move the motion to introduce the filler metal. Dabbing the filler metal creates the bead profile, so there is no need for excessive torch movements.
Filler metal should be added to the puddle’s edge after you’ve established the puddle. Establishing your rhythm is as important as establishing your movement. It will take a little while to lay a proper weld bead on aluminum as long as you maintain a consistent rhythm and control the puddle.
Understanding Weld Parameters And Advanced Features
TIG welding machines allow you to fine-tune the welding arc to match joint designs or to customize welding beads to your liking. You can fine-tune the amps by adjusting balance and frequency and setting the amperage according to the thickness of the material.
Through its balance function, the aluminum is cleaned of its oxide layer so the puddle contamination can be removed from the aluminum before welding. You get more cleaning when the balance number is lower and less cleaning when the balance number is higher. If you wish to alter this setting, consider your joint design, the thickness of the oxide layer on the aluminum, and your desired appearance for the weld bead.
This setting allows you to tailor the arc according to the design of the joint using the frequency function. Arc width and laziness increase with lower frequency settings. An arc becomes tighter and more focused as the setting increases. Higher frequency settings are helpful when welding in tight spaces or needing more precision. Use lower settings to produce a wider, flatter bead in butt joints or areas that require welding material to be built up.
If you want to ensure that these settings suit your needs, you should practice adjusting them.
Conclusion
In conclusion, TIG welding aluminum can seem daunting for beginners, but with practice and patience, it can be mastered. It is important to understand the proper technique, equipment, and safety measures to achieve a successful weld. By following the guidelines outlined in this article, beginners can gain the knowledge and confidence necessary to tackle their first aluminum welding project. Remember to always prioritize safety, take your time, and practice, practice, practice!

It’s been years since I got into welding as a side hustle. It’s been so long since Doing All kinds of welds for business and pleasure as this is my hobby. Being in this field I have learned from hands-on-experience also came to know what gears work and what doesn’t. The Tig Welder is my own platform where I use to share my experience.


Leave a Reply